In this tutorial, we will show you how to install ClickHouse on an Ubuntu 18.04 Cloud VPS.

Prerequisite
- Ubuntu 18.04 Cloud VPS (We’ll be using our LC VPS-2 plan)
- SSH access with root privileges (our Cloud VPSes come with root access)
Step 1 – Log in and Update all Server Packages
Log in to your Ubuntu 18.04 Cloud VPS with SSH as the root user (or as a user with sudo privileges):
ssh root@IP_Address -p Port_number
You can check whether you have the proper Ubuntu version installed on your server with the following command:
# lsb_release -a
You should get this output:
Distributor ID: Ubuntu
Description: Ubuntu 18.04.2 LTS
Release: 18.04
Codename: bionic
Then, run the following command to make sure that all installed packages on the server are updated to the latest available versions:
# apt update && apt upgrade
Step 2 – Install ClickHouse
There are several ways to install ClickHouse on Ubuntu 18.04, but in this tutorial, we will install it using the official repository for ClickHouse from Yandex.
# apt-key adv --keyserver keyserver.ubuntu.com --recv E0C56BD4
# echo "deb http://repo.yandex.ru/clickhouse/deb/stable/ main/" | tee /etc/apt/sources.list.d/clickhouse.list
The command above will create a clickhouse.list file. We need to run the following commands to install ClickHouse now.
# apt update
# apt install clickhouse-server clickhouse-client
In the installation process, you will be asked to create a password for the user default. Please create and save a copy of the password, you will need it to access ClickHouse server.
Once the installation has been completed, we can enable ClickHouse to run it on boot.
# systemctl enable clickhouse-server
Let’s run the ClickHouse server now.
# systemctl start clickhouse-server
Your ClickHouse server is now running – you can verify it by running this command:
# systemctl status clickhouse-server
It should return output that looks similar to this:
root@ubuntu1804:~# systemctl status clickhouse-server
● clickhouse-server.service - ClickHouse Server (analytic DBMS for big data)
Loaded: loaded (/etc/systemd/system/clickhouse-server.service; enabled; vendor preset: enabled)
Active: active (running) since Mon 2019-07-01 03:37:57 CEST; 3s ago
Main PID: 19308 (clickhouse-serv)
Tasks: 36 (limit: 2299)
CGroup: /system.slice/clickhouse-server.service
└─19308 /usr/bin/clickhouse-server --config=/etc/clickhouse-server/config.xml --pid-file=/run/clickhouse-server/clickhouse-server.pid

Jul 01 03:37:57 ubuntu1804 systemd[1]: Started ClickHouse Server (analytic DBMS for big data).
Jul 01 03:37:57 ubuntu1804 clickhouse-server[19308]: Include not found: clickhouse_remote_servers
Jul 01 03:37:57 ubuntu1804 clickhouse-server[19308]: Include not found: clickhouse_compression
Jul 01 03:37:57 ubuntu1804 clickhouse-server[19308]: Logging trace to /var/log/clickhouse-server/clickhouse-server.log
Jul 01 03:37:57 ubuntu1804 clickhouse-server[19308]: Logging errors to /var/log/clickhouse-server/clickhouse-server.err.log
Jul 01 03:37:57 ubuntu1804 clickhouse-server[19308]: Include not found: networks
Jul 01 03:37:59 ubuntu1804 clickhouse-server[19308]: Include not found: clickhouse_remote_servers
Jul 01 03:37:59 ubuntu1804 clickhouse-server[19308]: Include not found: clickhouse_compression
Now, you can access your ClickHouse server through the command line interface:
# clickhouse-client --password
You will be asked for the password you created earlier.
root@ubuntu1804:~# clickhouse-client --password
ClickHouse client version 19.9.2.4 (official build).
Password for user (default):
Connecting to localhost:9000 as user default.
Connected to ClickHouse server version 19.9.2 revision 54421.

ubuntu1804.yourdomain.com :) show databases

SHOW DATABASES

┌─name────┐
│ default │
│ system │
└─────────┘

2 rows in set. Elapsed: 0.002 sec.

ubuntu1804.yourdomain.com :) select 1

SELECT 1

┌─1─┐
│ 1 │
└───┘

1 rows in set. Elapsed: 0.002 sec.
As seen above, we can invoke the “show database” and “select” queries with no issues.
Step 3 – Configure ClickHouse
We can now perform some additional steps to further customize our ClickHouse instance.
3.1 – Change the listening IP address
Once ClickHouse server is installed, you can only access it from the same server, as it only listens on localhost by default. To change the listening IP address, we need to edit the /etc/clickhouse-server/config.xml file.
# nano /etc/clickhouse-server/config.xml
Find the string listen_host, and uncomment the line. If you have several IP addresses and want to set ClickHouse server to listen only on a specific IP address, you can edit the line as follows – make sure you replace 111.222.333.444 with your actual IP address:
<listen_host>111.222.333.444</listen_host>
3.2 – Enable Tabix
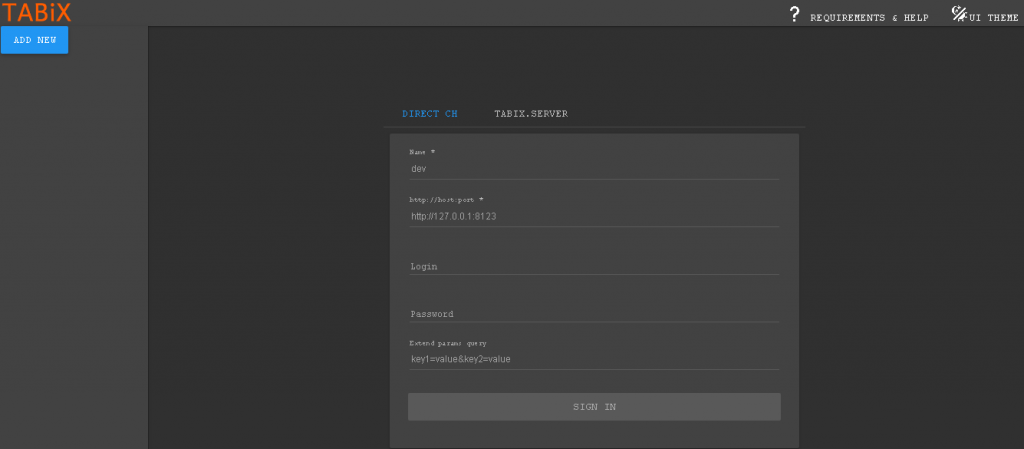
If you want to access the ClickHouse server through http or by using a web browser, you can enable Tabix by editing the config.xml file as mentioned before. If you choose not to do this, you will not be able to access and manage your databases through a web browser.
# nano /etc/clickhouse-server/config.xml
Find the string http_server_default_response and uncomment the line.
After making changes to the config.xml file, we need to restart our clickhouse-server service.
# systemctl restart clickhouse-server
Now, you should be able to access http://Your_IP_Address:8123 and log in using the default user and password you specified earlier in the installation process.
Congratulations! At this point, you should be able to access ClickHouse on port 9000 and Tabix at http://111.222.333.444:8123. For more information about ClickHouse, its features, and configuration, please check their official documentation.

PS. If you enjoyed reading this blog post on how to install ClickHouse on Ubuntu 18.04, or if you found it helpful feel free to share it on social networks using the shortcuts below, or simply leave a comment.

