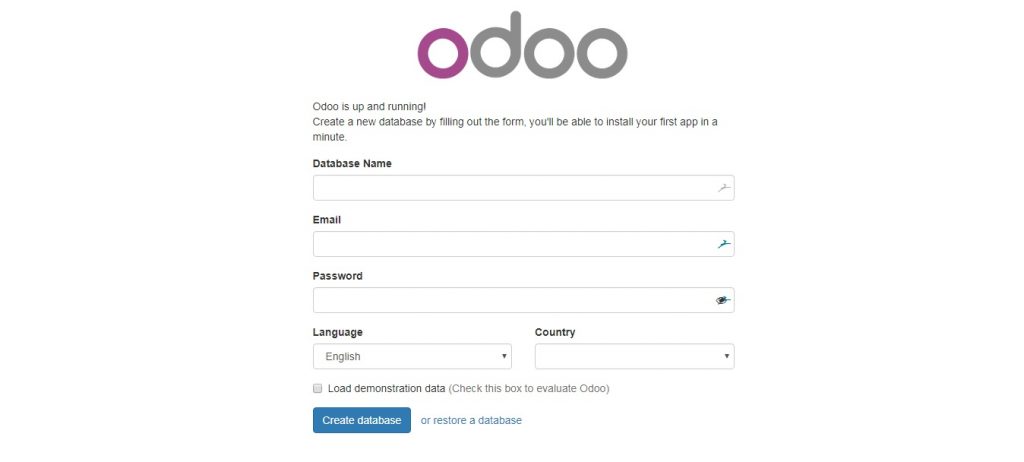
In this tutorial, we will guide you through the steps of installing Odoo 10 on Debian 9 using your domain name and without typing the port number in your web browser. We will also install the Nginx web server and configure it as a reverse proxy.
Odoo (formerly OpenERP) is a web-based open source business software including a number of business applications for Sales, Website/eCommerce, Project and Warehouse management, CRM, billing, accounting, Human Resources, Marketing and many more additional modules developed by the community. Odoo comes in two editions, Community edition, which is free, and Enterprise edition. In our case, we will install and use the Community edition of Odoo.
Requirements
- Debian 9 VPS. We will use our LC VPS-2 hosting plan for the 2 gigabytes of RAM that we’ll need.
- SSH access with root privileges
- PostgreSQL server
- Python version 2.7
- Nginx web server
Step 1. Login via SSH and Update the System Packages
To connect to your server via SSH as user root, use the following command:
ssh root@<span style="color: #ff0000;">IP_Address</span> -p <span style="color: #ff0000;">Port_number</span>
You can change “root” to the username of any sudo-enabled account, as well as changing “IP_Address” and “Port_number” to the respective values for your server.
Once you are logged in, make sure that your server is up-to-date by running the following commands:
apt update && apt upgrade
Step 2. Install PostgreSQL Server on Debian 9
The next step is to install the PostgreSQL database system on your server. This step is fairly simple – just run the following command:
apt install postgresql
It will install the PostgreSQL database server, client and other required tools.
To check an verify that PostgreSQL server/client are installed, you can use the following command:
psql --version
It will show you the current version of PostgreSQL you have installed on your server:
# psql --version
psql (PostgreSQL) 9.6.10
Step 3. Add a Repository and Install Odoo
Odoo is not available in the official Debian 9 repository, so in order to install it, we will need to add the Odoo repository to the server. In order to do that, we need to run the following commands:
wget -O - https://nightly.odoo.com/odoo.key <span class="p">|</span> apt-key add - <span class="nb">echo</span> <span class="s2">"deb http://nightly.odoo.com/10.0/nightly/deb/ ./"</span> >> /etc/apt/sources.list.d/odoo.list
Update the list of available packages with:
apt update
And run the following command to install Odoo, along with Python and all required Python modules:
apt install odoo
After the installation is complete, you can run the following command to check the status of your Odoo service:
systemctl status odoo
You should get the following output:
● odoo.service - LSB: Start odoo daemon at boot time
   Loaded: loaded (/etc/init.d/odoo; bad; vendor preset: enabled)
   Active: active (running) since
     Docs: man:systemd-sysv-generator(8)
   CGroup: /system.slice/odoo.service
           └─21410 /usr/bin/python /usr/bin/odoo --config /etc/odoo/odoo.conf --logfile /var/log/odoo/odoo-server.log
You will also need to set a new master password. To do this you need to edit the Odoo configuration file with:
nano /etc/odoo/odoo.conf
Uncomment the ‘admin_passwrd’ line, and change admin_password field with a strong password.
admin_passwd = <span style="color: #ff0000;">YOUR_STRONG_PASSWORD</span>
After you finish making the changes, save and exit the file, then restart your Odoo instance with the following command:
systemctl restart odoo
To access Odoo, you can now open your favorite web browser and navigate to http://your-server-IP-address:8069
Step 4. Setting up a Reverse Proxy with Nginx
To access it using your domain name and without needing to type the port number in your web browser, we need to configure Nginx as a reverse proxy.
If you have apache installed, you can uninstall or disable it with the following command:
systemctl disable apache2
systemctl stop apache2
and then install Nginx using the following command:
apt install nginx
To enable the Nginx web server to start automatically upon server reboot, execute the following command:
systemctl enable nginx
Next, we need to create a Nginx configuration file:
nano /etc/nginx/sites-available/<span style="color: #ff0000;">domain.com</span>.conf
and enter the following content and save the file:
upstream odoo {
server 127.0.0.1:8069;
}

server {
listen 80 default;
server_name <span style="color: #ff0000;">domain.com</span>;

access_log /var/log/nginx/<span style="color: #ff0000;">domain.com</span>.access.log;
error_log /var/log/nginx/<span style="color: #ff0000;">domain.com</span>.error.log;

proxy_buffers 16 64k;
proxy_buffer_size 128k;

location / {
proxy_pass http://<span style="color: #ff0000;">odoo</span>;
proxy_next_upstream error timeout invalid_header http_500 http_502 http_503 http_504;
proxy_redirect off;

proxy_set_header Host $host;
proxy_set_header X-Real-IP $remote_addr;
proxy_set_header X-Forwarded-For $proxy_add_x_forwarded_for;
proxy_set_header X-Forwarded-Proto https;
}

location ~* /web/static/ {
proxy_cache_valid 200 60m;
proxy_buffering on;
expires 864000;
proxy_pass http://<span style="color: #ff0000;">odoo</span>;
}
}
To enable the virtual server block we have just created, run the following command:
ln -s /etc/nginx/sites-available/<span style="color: #ff0000;">domain.com</span>.conf /etc/nginx/sites-enabled/<span style="color: #ff0000;">domain.com</span>.conf
Remember to replace any and all instances of domain.com with your unique registered domain name.
Check the Nginx configuration and if everything is okay, restart it.
nginx -t
systemctl restart nginx
That’s it! If you followed all the instructions properly, you can now access your Odoo 10 using your domain name at http://domain.com. For more information about Odoo 10, its features and configuration, please check their official documentation.
Of course, you don’t have to know how to install Odoo 10 on Debian 9 with Nginx as a reverse proxy if you use of our Managed Cloud VPS services. You can simply ask our administrators to install Odoo 10 on Debian 9 for you. They’re available 24/7 and will be able to help you with the installation of Odoo 10 as well as anything else you may need.
PS. If you enjoyed reading this blog post on how to Install Odoo 10 on Debian 9 with Nginx as a reverse proxy, feel free to share it on social networks using the sharing shortcuts, or simply leave a comment. Thank you.

